 |

Ideas

This page is reserved for examples of great projects
you can do with your materials.
I will be having monthly crafting contests with the
winner receiving more crafting items!! YIPPEE!
|
 |
 |
|
|
Table of Contents, Book I |
|
|
|
4 |
Equipment |
|
|
|
7 |
Character
Charts |
|
|
|
10 |
Petal
Arranging and Alternatives for Stamens |
|
|
|
11 |
Hints and
Value |
|
|
|
12 |
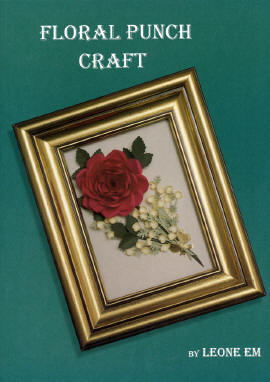
The Crimson
Rose (Front Cover) |
|
|
|
14 |
A Gift Box
with Blooms (back cover) |
|
|
|
16 |
Corsage and
Bows |
|
|
|
17-19 |
In Color:
Corsage and Bows, Hydrangea, Bottlebrush, Bells and
Bouquet |
|
|
|
20-22 |
With Love:
Instructions and Color Plate |
|
|
|
22 |
Leaf Chart |
|
|
|
23 |
Hydrangea |
|
|
|
24 |
Bottlebrush |
|
|
|
26 |
Page Bells
and Bouquet |
|
|
|
28 |
Wedding
Bells: Instructions and Color Plate |
|
|
|
30-31 |
Flowers No. 1
to No. 21 in full color |
|
|
|
31-33 |
Spring
Blossoms: Instructions and Color Plate |
|
|
|
34 |
Flowers No. 1
and No. 2 |
|
|
|
35 |
Flowers No. 3
and No. 4 |
|
|
|
36 |
Flowers No. 5
and No. 6 |
|
|
|
37 |
Flowers No. 7
and No. 8 |
|
|
|
38 |
Flowers No. 9
and No. 10 |
|
|
|
39 |
Flowers No.
11 and No. 12 |
|
|
|
40 |
Flower No. 13 |
|
|
|
41 |
Flower No. 14 |
|
|
|
42 |
Flower No.
15: Roses |
|
|
|
43 |
Flower No. 16 |
|
|
|
44 |
Flower No. 17
|
|
|
|
45 |
Flower No.
18: Lily of the Valley |
|
|
|
46 |
Flower No. 19 |
|
|
|
47 |
Flower No.
20: Begonia |
|
|
|
48 |
Flower No. 21 |
|
Book I
Image Samples (click to enlarge) |
|
 |
 |
 |
|
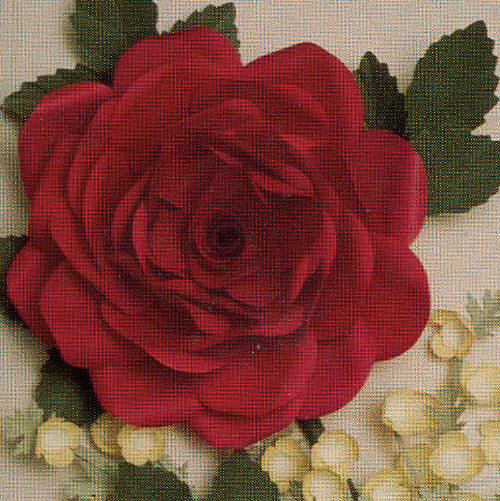
Rose |
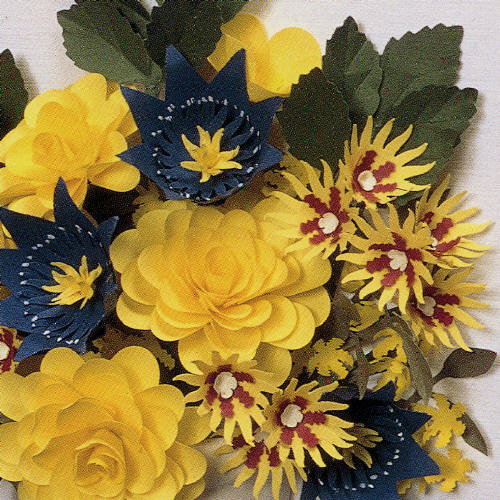
Floral Ensemble |
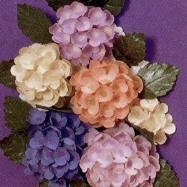
Hydrangea |
|
"Small Balloon and Heart Punches" |
|
Below is
a sample of part of a design in Book One. As
you can see, the book guides you, step by
step, through the entire construction
process. The book lists the punches
required, guides you through shape making,
putting the flowers together right through
to the completed project. |
 |
|
(1)
Small Balloon punch X 6 = 1 flower with 6
petals. The base of each balloon is the base
of each petal. |
 |
|
(2)
Give the 6 balloon shapes "half moon
character" on the molding pad with the small
end of the white tool. Turn the tool's half
round shape onto its side. Stroke firmly
across the width of each petal. |
 |
|
(3)
Punch 1 extra balloon shape in the same
color as above. Cut off the base to form a
round flat piece of paper. |
 |
|
(4)
Glue the base of each shaped petal to the
round flat paper from Step 3. Start at 12
o'clock and go clockwise. The petals will
overlap. The base of each will touch. Stop
before last petal. |
|
|
(5)
The last petal has a small cut near the base
on the right hand side. This cut allows it
to slip in behind the 12 o'clock petal. |
 |
|
.../continued on page 37 of Book One. |
|
|
|
|
 |

Right Column Box
 |
 |
Headline |
 |
 |
Hours: O
P E N
O P E N
O P E N
We're here 24/7
It's going to be an exciting year! More items coming
in every day.
If you don't see what you wish, be sure to ask, I am glad to
special order items for you (and maybe carry them) just because YOU
ASKED!
My warmest welcome to my customers....I'm so glad you
stopped by. Be sure to grab a cookie as you shop....mine have no
calories! :)
Would you like to open a web store? Don't get stuck with a
solution that controls you. Ask and I'll direct you to an
easy, fun and reasonable solution!

|
 |
 |
|

